DIY Big Year: Resources
Nov 20, 2017 | by Greg Miller
The Basics
Binoculars
The best binoculars are the ones you are going to carry with you. Everywhere if you are doing a Big Year. Maybe you don’t feel comfortable carrying a pair of high end binoculars everywhere you go. Or maybe you are just scared of carrying a priceless gem for which you have just taken out a second mortgage. Generally speaking, the more you spend on optics, the better the quality. It’s hard to get around that. Buy as much glass as you can afford. You will thank yourself later. Waterproof and fog proof are a big deal when you have to find a lot of birds in out-of-the-way places. Oh. And shock proof if you are one of those folks who are prone to dropping optics.
Buy binoculars that are comfortable in your hands. You’ll be holding them a lot. And don’t forget to be nice to your neck. You may want to try a harness as opposed to a strap around the neck.
If you are new to binoculars you’ll notice there are two numbers like 7×35 or 8×42 or 10×50 or another combination. The first number represents how close a bird will look. The bigger the number, the closer the bird will appear when you look through the binoculars. And you say to yourself, why wouldn’t I get the biggest number possible? The drawbacks on the bigger number mean a smaller view. It will be harder to find the bird when you are using binoculars with a bigger number. And it is harder to hold them steady. And they are almost always bigger and heavier to carry.
The second number represents how much light is going to be in your view. The bigger the number, the more light will come in. If you take the second number and divide it by the first number, the resulting number should be about 5. In low light conditions this becomes important. A pair of 7×50 binoculars should pick up more light than your own eyes. But a small pair of 10×30 binoculars will pick up less light than your eyes. What you see through those binoculars will look darker than what you see without binoculars. Make sense? I hope so.
The Big Year movie came out in late 2011. Since then I’ve had the good fortune of carrying sponsored binoculars. I’ve carried both Swarovski and Leica glass and both are incredible pieces of perfection. I suppose you may be wondering what I own. I have 2 sets of binoculars I used previous to the movie. My best binoculars are a pair of Zeiss 10×40. I purchased them in 1997 and used them throughout my Big Year in 1998. I still have them. The other is a pair of KOWA 8×42. They are periwinkle blue. It is what I carried in the field in the years just before the movie came out. They are much lighter in weight. As I have aged, I have found binoculars feel heavier and heavier around my neck.
Telescopes
Yes. You will definitely want one. You will need to be able to identify shorebirds and waterfowl—often at pretty long distances. Again, better glass is going to be worth it. And you thought binoculars were expensive. Telescope prices will take your breath away. Get the best you can afford. The two numbers are similar for scopes as they are for binoculars. First number is how close a view you’ll get. The second number will govern the amount of light-gathering capabilities. You may be tempted with huge numbers on astronomical telescopes. But beware. The image you look at on land will be upside down. Not to mention the huge amount of heat shimmer you get on anything past about 50x magnification. And don’t be cheap on your tripod either. If you have wind, you will find out very fast whether or not you have a stable tripod. It will jiggle so badly on a poor tripod that you will not be able to see well at all. Avoid the disappoint and get something sturdy. But beware. If you hike any distance, that tripod is going to feel heavy. If you can swing the money, try a lightweight material like carbon fiber. Your shoulders will thank you.
I currently own a Swarovski ATX85 with a 25-50mm eyepiece and a light weight, Swarovski carbon fiber travel tripod. It provides me with a view that is crisp and sharp. And it is a marvel in darker lighting that happens often in the field (dusk, cloudy, or shade). The last couple years I’ve had the privilege of carrying a smaller, 65mm Leica telescope that was sponsored by Leica. It is an awesome travel scope. It’s much lighter and smaller and the image is sharp. I love that it fits into my backpack for travel on planes.
Hearing devices
If you are starting to age like me and find yourself starting to lose some hearing then you will want to try out something to help. Hearing aids can be incredibly expensive. I am too cheap to buy them. So I did a little research and found a workable solution that I personally like. I bought a PocketTalker unit on Amazon. I bought a separate mic with a wire since the one that comes with the unit is attached right on the unit and is not high quality. I also bought a pair of headphones (with wires/not bluetooth). The headphones plug into one hole in the top of the PocketTalker and the mic plugs into the other hole on the PocketTalker. I can adjust both volume and a filter for pitch. It does not change the pitch. I can filter out high frequency when I’m in a room full of people. And I can filter out low frequency when I want to hear higher pitched warbler songs. I still cannot hear Brown Creeper, Cedar Waxwing, or Golden-crowned Kinglets. But when I put them on last spring I could hear Cape May Warbler for the first time in 10 years! I was elated. This is not a perfect solution, but for less than $250 total I am able to hear far more than I do without them.
Cameras
Yes. That’s plural. The one I use the most is my iPhone. If you carry a smartphone, it probably has a camera and it’s always with you. You can probably use it with steady hands and binoculars or with a telescope. But you’ll be greatly helped if you get a case for your smartphone that has an adaptor fit for your telescope’s eyepiece. I’ve used a PhoneSkope adapter and found them to be durable and very handy (available at www.phoneskope.com).
I also often carry a small, waterproof camera for the times I’m out birding in the rain—like the tropics. There are a number of good small waterproof cameras on the market. I currently use a Nikon Coolpix AW120. It’s good for landscapes, people, food, and of course, shots in the rain.
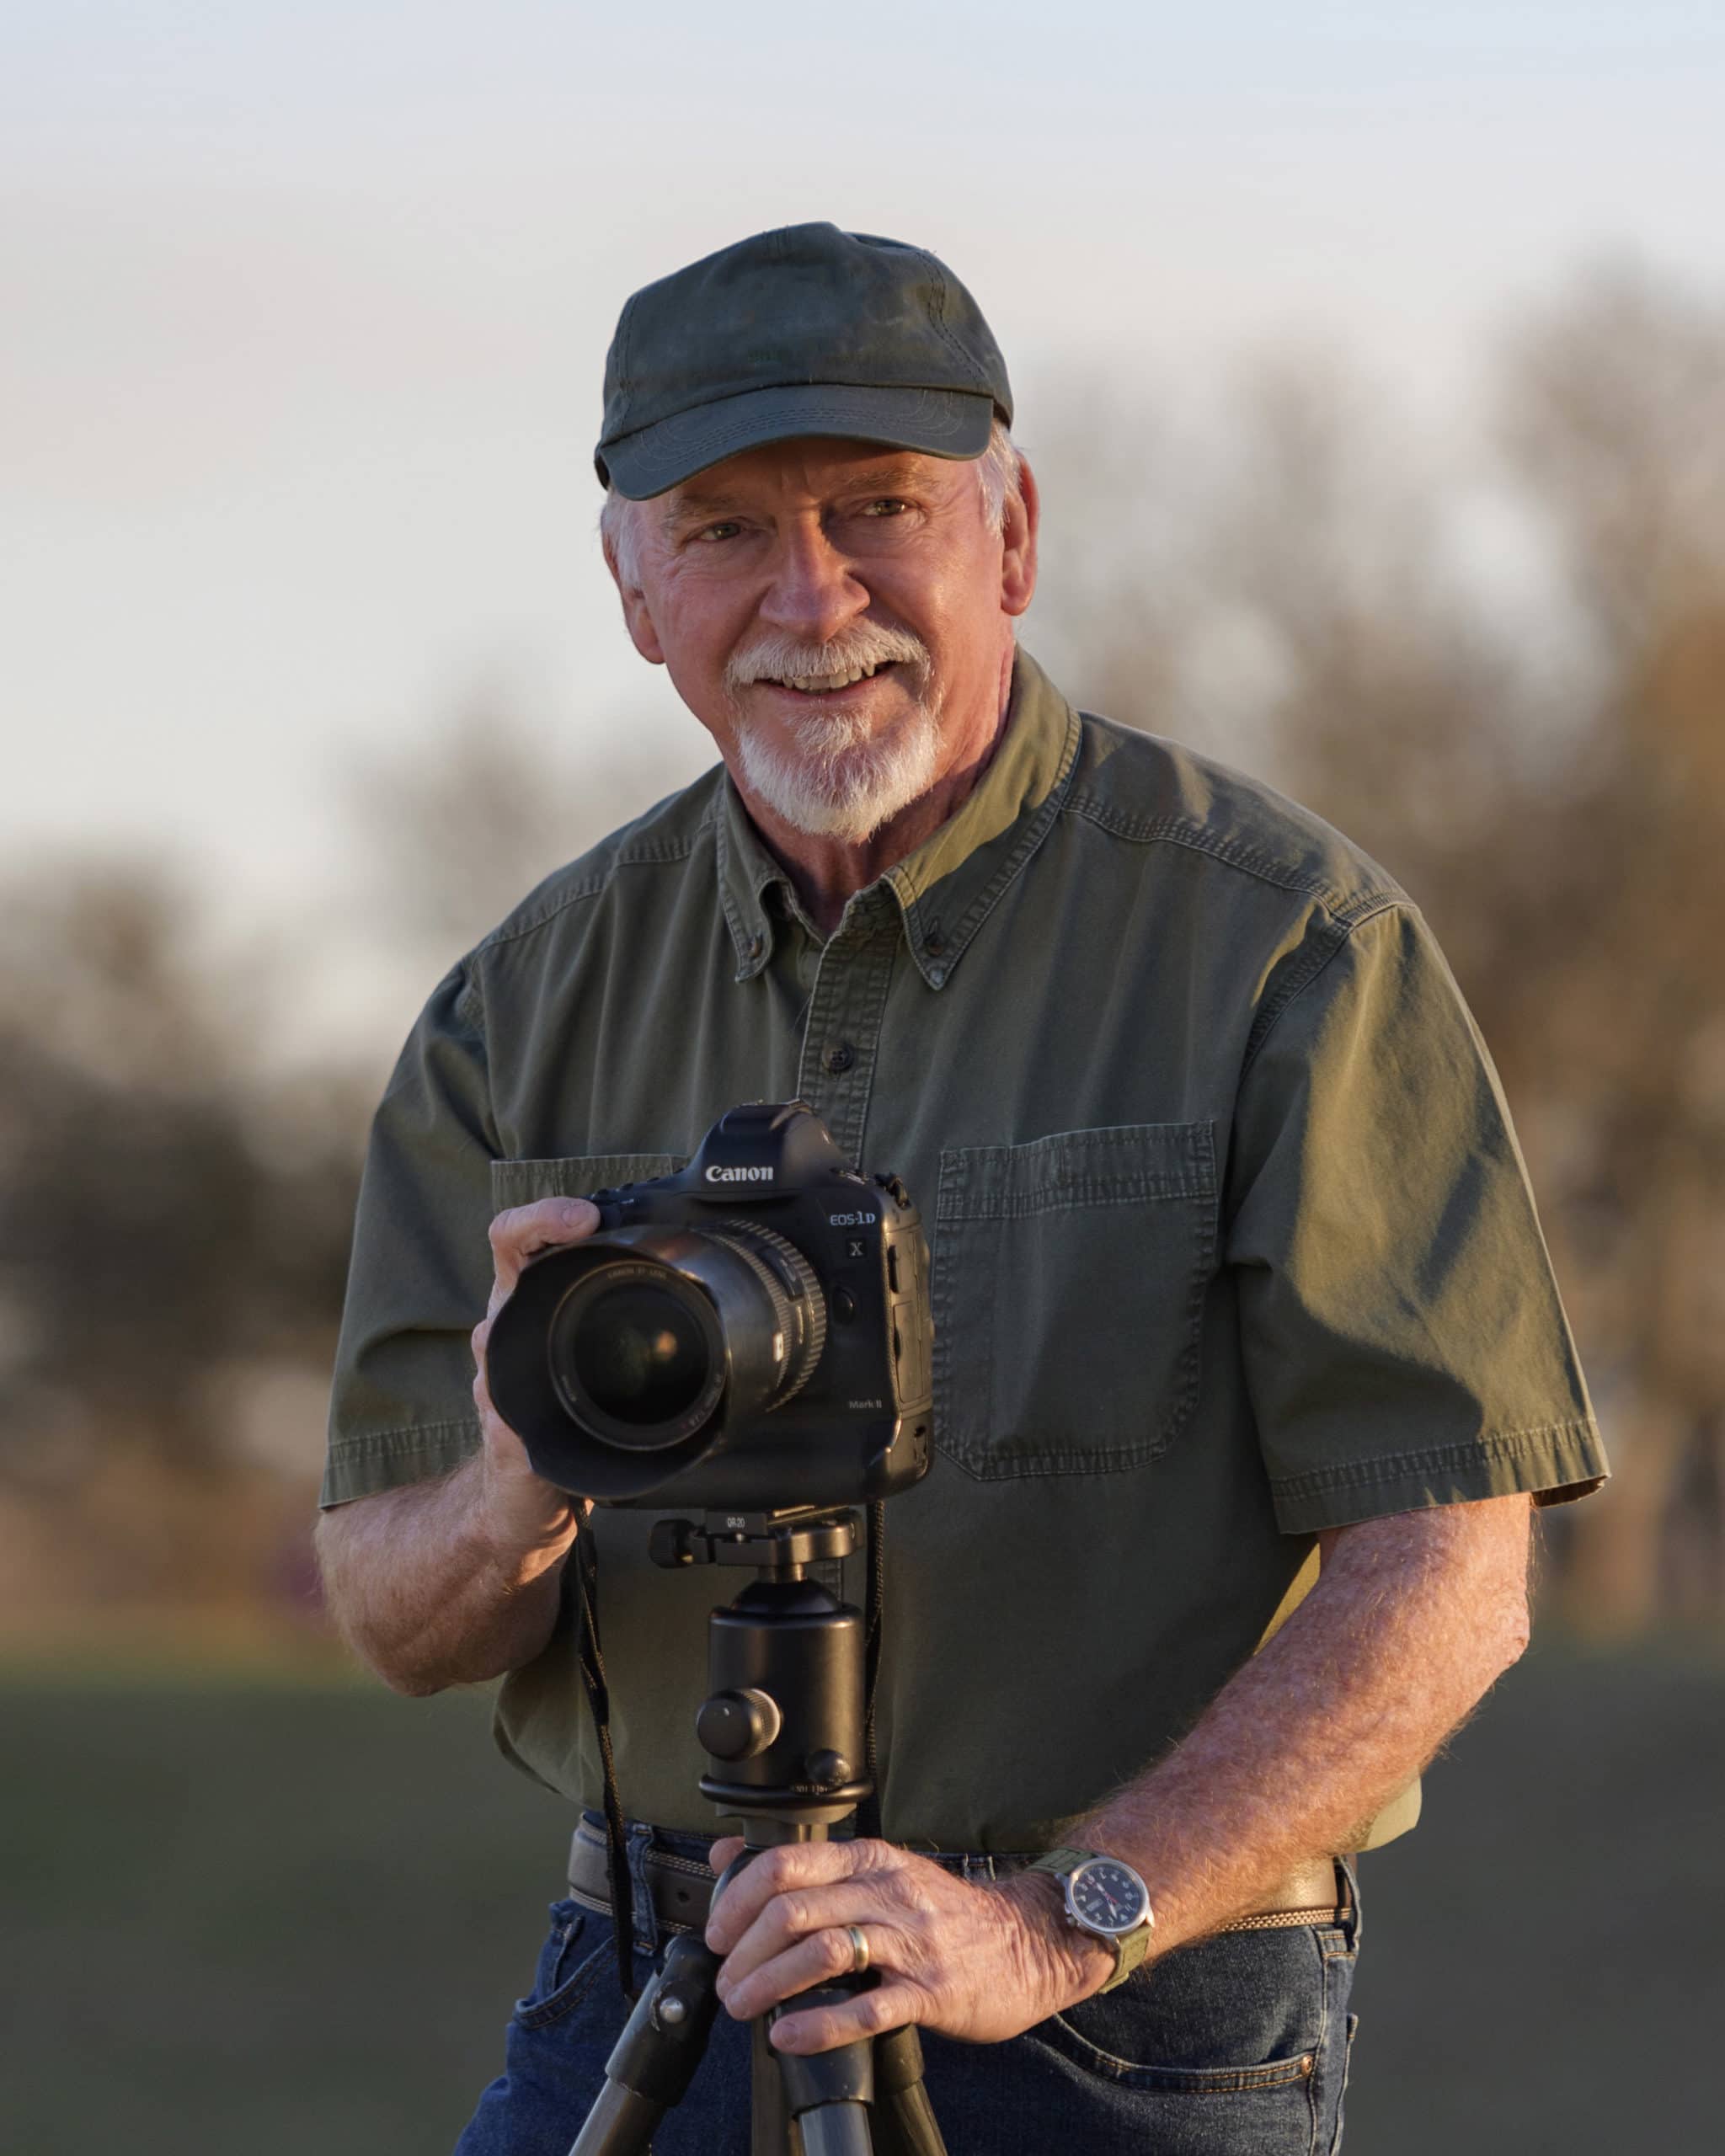
I do take a DSLR on some trips with a bigger lens. I have a Canon D7 body. I own a Sigma 50-500mm lens with image stabilization. It’s an awesome lens for my type of shooting.
The Geeky Stuff
This is the stuff that has changed the way we go birding. The electronic resources are being developed so quickly that it is hard to keep up. Facebook and Twitter are now both used by birders to make reporting with pictures so much easier and faster than ever. I am no longer 14 years old so I am probably already behind the latest and greatest apps out there. Of course, back before the invention of dirt when I did my Big Year I didn’t have a laptop, a GPS for navigation, or a cell phone. Egads! So I am going to give you what I currently use today. I hope it helps.
Birding apps
First, my apologies to Android users. I have an iPhone. Most of these apps (but not all) are available for Android as well.
I don’t carry a physical field guide out birding anymore. I use an electronic one. I have several, but the one I use the most is The Sibley eGuide to the Birds of North America.
I use this app all the time in the field when I am guiding. My favorite feature is being able to compare any two species side-by-side. It has range maps, text, and plumages just like the book. But in addition, it also has bird songs and calls with regional variations. It’s a powerful app.
When I travel, I use eBird to enter all my sightings at every location. This submits all my sightings to the internet where millions of checklists from birders all around the world have submitted and stored. This is used for Citizen Science. It is also a really handy resource for finding birds. You can even set up alerts so you can be notified about birds that are seen but you still need for your list. And online, eBird has maps and information about all kinds of good birding hotspots, too. Go to eBird.org and check it out.
One of my favorite resources for finding what birds are near my current location is an app called Birdseye Bird Finding Guide. I have the North America edition. It will compare my eBird list (for year or life) and let me know what birds are currently being seen near me that I still need for my list. I can view maps with stickpins. I can click on a stickpin and it will show me when the last sighting occurred and I can click on directions to have map navigation to the site.
This is a fantastic resource. I can look at frequency maps for the year for any species in the area, too. If you are doing a Big Year, you will want this one.
Travel apps
Travel apps are now an integral part of a Big Year birder’s arsenal. There are many apps for navigation. The one I use the most is Google Maps.
If you do a lot of driving on interstate highways like I do then you may also like iExit Interstate Exit Guide. I like that it lists the exit numbers along the highway and has little icons for what is available at each exit. It’s quite handy to look forward easily to find the kind of exit I like best with gas stations, restaurants, restrooms and sometimes hotels.
Since you will probably doing a ton of driving, why not save a few bucks overtime you have to fill up with GasBuddy. GasBuddy will let you know where the nearest gas stations are and list the current prices. Pretty cool.
Weather apps
And what in the world did we ever do without weather apps at our fingertips? For weather forecasts I really like Weather Underground: Forecast. Temperatures, precipitation, and barometer in easy to read graphical representation makes this a good app. But what makes it great in my opinion are the customizable smart forecasts. You can choose what parameters you want for any smart forecast. For instance, I have a smart forecast I named “Miller Awesome”. I have my favorite temperature range, no precipitation, low humidity, not too windy, and mostly clear skies. The smart forecast tells me of any times in the next 10 days that those conditions are met. I also have smart forecasts set up for spring and fall migration for birding in eastern United States. I love the smart forecasts.
Another weather app I use often just to get current radar is MyRadar NOAA Weather Radar. It’s pretty simple but looks great. My favorite feature are the little moving marks indicating live wind direction.
And yes, I use one more weather app fairly often. It is called WindFinder Pro. This is an app used by surfers, windsurfers, and of course, anyone who cares about winds. It is great for wind strength and direction, but it is also good for tides and wave heights and frequency as well. You’ll want this app if you bird during migration or visit a coastal location where tides are a big deal.
Lodging apps
There are a plethora of apps in this category. I use hotels.com quite often. It may not be cheapest or best, but it is quite convenient since it is not limited to just one chain.
Another app I use for lodging, restaurants, and sites of interest is tripadvisor. It has a pretty good ranking system and is a good all around app.
Food apps
I think there are even more of these apps than for lodging. The one I use the most and have found to be pretty reliable for recommendations in a new area is Yelp. When I travel with a group I use this app often to find places that fit most everyone’s dietary needs. You can find vegetarian, gluten free, and a host of other things in this app. I like to pick things that are highly rated, have lots of reviews, are nearby, and open when I am planning to be there.
Camera apps
Last, but not least are a couple camera apps I use on my iPhone. These are indispensable for quick editing and posting to social media quickly.
My go-to camera editing app for the iPhone is Camera+. It’s got lots of preset filters and effects. I can quickly crop or rotate an image. But my favorite part is the lab section. I can go in and tweak clarity, sharpening, brightness, contrast, exposure, highlights, shadows, and saturation just to name a few. It is a non destructive editor and I can save my edited photo in my camera roll without losing my original photo.
And since I’m using an iPhone, I am always running out of storage. I use Flickr for my photos. It’s linked to a Yahoo! email account. I get one terabyte of free storage. Uploading photos from my camera roll is easy with the Flickr app. And then I can delete the photos off my iPhone and they are safely stored and untouched in the cloud in my Flickr account.
I carry a MacBook Pro laptop in the field. I do my serious editing (RAW images from my Canon camera) in a Mac app called Affinity Photo. I like it because I only had to pay for it once–not a subscription like Adobe products. And I get free updates. It does all the stuff I need to for good developing in RAW and editing and exporting to any format. So far, I’m a big fan.
Online resources
The last few days of listserv posts is saved online at the American Birding Association’s website. Most all of North America has coverage here. You can read posts by local birders about the latest sightings and even see listings of local Rare Bird Alerts. You can find this information at birding.aba.org.
Another good resource is the American Birding Association’s blog at blog.aba.org. Search for the hashtag #ABArare to find out the latest rare birds across North America.
Speaking of rare birds—have you used the ebirdmap at birdingonthe.net? It is pretty amazing. If you use a Mac you may be disappointed since the stick pins don’t show up. But in Windows PCs this is not an issue. All of the ABA difficult birds ranked 2 or greater are plotted on a zoomable map of the United States. If you click on a stick pin the latest sighting information is displayed. Data is retrieved daily (I think) from eBird.
You can check out my versions of Impatient Birder’s Guide at my website, gregmillerbirding.com. Click on the main “Birder’s Notebook” to see my research with eBird data. The oldest stuff is at the top. The newest stuff is at the bottom.
And lastly, don’t forget all the fabulous resources at ebird.org. If you haven’t looked already, the first time you visit you may be like me an not sleep for 2 or 3 days.

